FoxyProxy is a versatile browser extension designed to streamline proxy management for users of Google Chrome and Firefox. With its intuitive interface, it allows seamless switching between proxies, precise control over proxy settings, and the ability to route web traffic through specific proxies based on URL patterns. This makes it an excellent tool for enhancing online privacy, accessing region-restricted content, or testing network configurations.
This guide provides clear, step-by-step instructions for installing and configuring FoxyProxy on both Chrome and Firefox.
Installing and Configuring FoxyProxy on Google Chrome
Follow these steps to set up FoxyProxy on Google Chrome:
1. Install the Extension
2. Open Google Chrome and navigate to the Chrome Web Store.
3. Search for “FoxyProxy” in the search bar.
4. Locate FoxyProxy Standard in the results, click “Add to Chrome,” and confirm by selecting “Add Extension” in the pop-up.
5. Locate the FoxyProxy Icon
6. Once installed, the FoxyProxy icon (a fox head) should appear in the Chrome toolbar.
7. If it’s not visible, click the Extensions menu (puzzle piece icon) and pin FoxyProxy to the toolbar for quick access.
8. Access the Settings
9. Click the FoxyProxy icon in the toolbar to open its menu.
10. Select “Options” from the dropdown to access the configuration page.
11. Configure a New Proxy
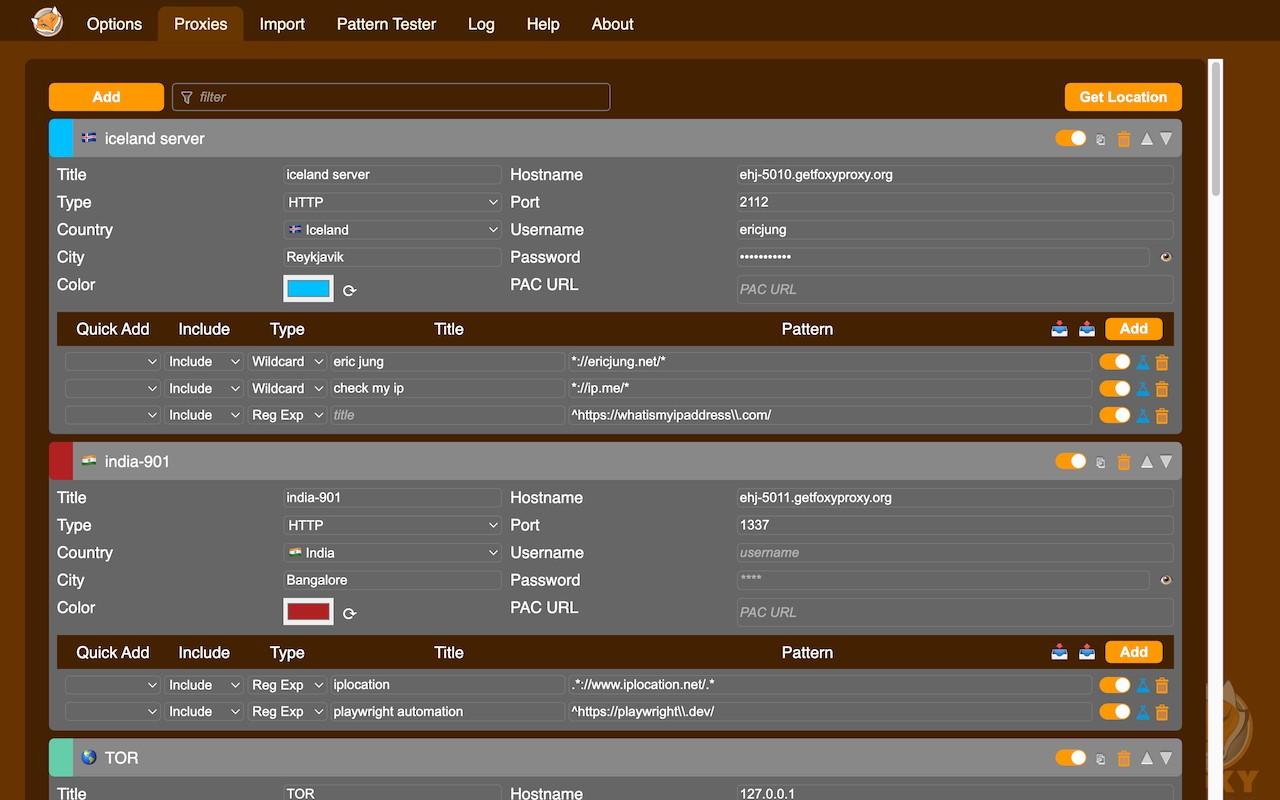
12. In the Proxies tab, click Add to create a new proxy profile.
13. Fill in the required details:
- Title: Assign a name to your proxy (e.g., “Work Proxy”).
- Type: Choose the proxy type (e.g., HTTP, HTTPS, SOCKS4, or SOCKS5).
- Hostname: Enter the proxy server’s IP address or domain name.
- Port: Specify the port number for the proxy.
- Username/Password: If required, input your proxy authentication credentials.
14. Save and Enable the Proxy
15. After entering the details, click Save to store the configuration.
16. Return to the main Options page and select your proxy from the dropdown to activate it.
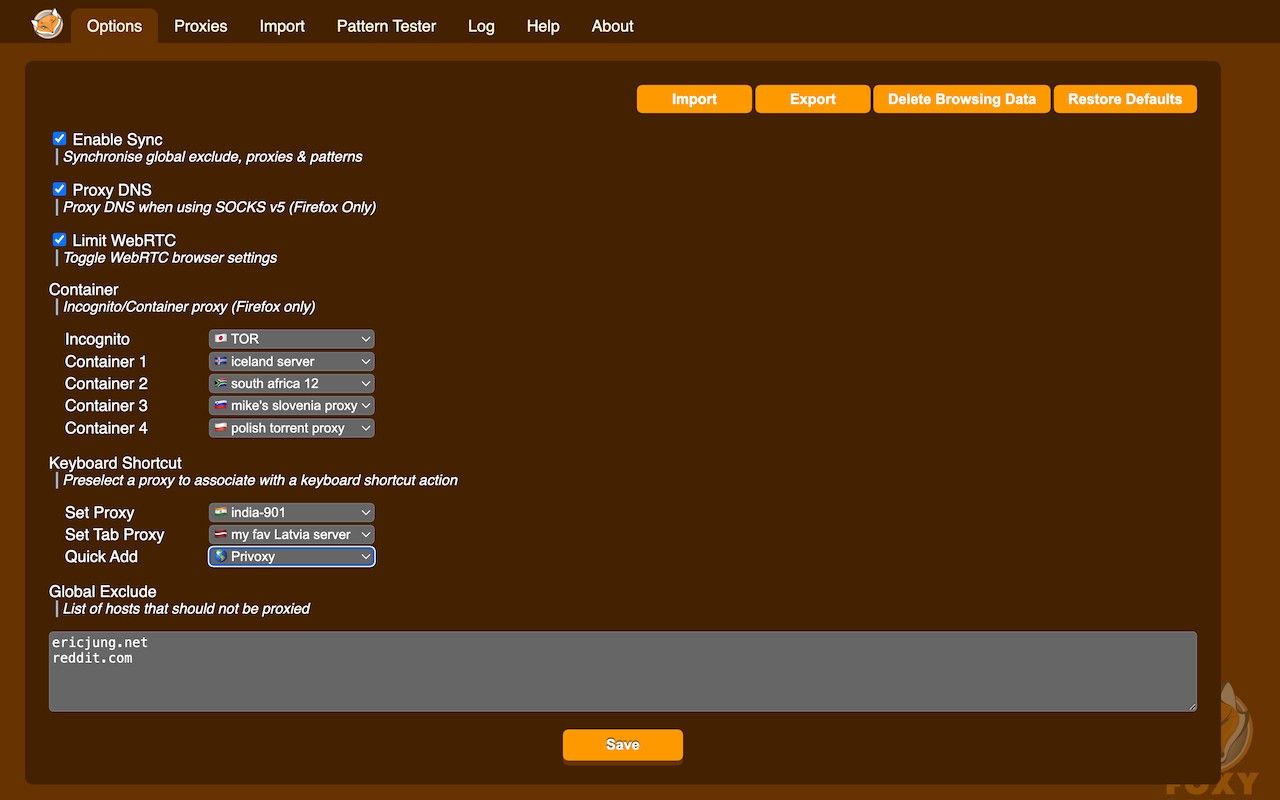
17. Set Custom Routing Rules (Optional)
18. To route specific websites through the proxy, go to the Pattern Tester tab.
19. Create URL patterns to direct traffic for certain sites through your chosen proxy while allowing other traffic to bypass it.
Installing and Configuring FoxyProxy on Firefox
Here’s how to set up FoxyProxy on Firefox:
1. Install the Extension
2. Open Firefox and visit the Firefox Add-ons website.
3. Search for FoxyProxy Standard, click “Add to Firefox,” and confirm by selecting “Add” in the prompt.
4. Locate the FoxyProxy Icon
5. After installation, the FoxyProxy icon should appear in the Firefox toolbar.
6. If it’s missing, click the Menu button (represented by three horizontal lines), select “Add-ons and Themes,” and locate FoxyProxy to manage its settings.
7. Access the Settings
8. Click the FoxyProxy icon in the toolbar and choose Options to open the configuration page.
9. Configure a New Proxy
10. In the Proxies tab, click Add and enter the required details:
- Title: Name your proxy (e.g., “Home Proxy”).
- Type: Select the appropriate proxy type (HTTP, HTTPS, SOCKS, etc.).
- Hostname: Input the proxy server’s IP or hostname.
- Port: Provide the port number.
- Username/Password: Add credentials if authentication is needed.
- Click Save to store the settings.
11. Enable the Proxy
12. Return to the main FoxyProxy page and select your proxy from the dropdown to activate it.
Conclusion
FoxyProxy simplifies proxy management, making it an invaluable tool for users seeking greater control over their browsing experience. Whether you’re bypassing geo-restrictions, safeguarding your privacy, or managing multiple proxies for different tasks, FoxyProxy offers a user-friendly solution for both Chrome and Firefox. By following this guide, you can quickly set up and customize FoxyProxy to suit your needs, ensuring a flexible and efficient browsing experience.
Further, Read:
