
In just a year, the Model Context Protocol (MCP) has evolved from a technical concept into one of the most practical standards for connecting large language models with real-world tools and data sources. By using it, AI agents can understand context, make decisions, and carry out complex tasks almost like real assistants.
In this guide, you’ll learn how to set up the Decodo MCP Server so you can connect it with tools like Cursor, VS Code, and Claude Desktop. Once configured, this setup can power your web scraping workflows and help your AI assistants perform actions instantly rather than just respond with text.
What is an MCP Server?
The Model Context Protocol was introduced by Anthropic as an open standard that lets AI models interact with external systems and applications. Instead of building one-off integrations for every tool, MCP gives AI a universal way to talk to them. This means better accuracy, smarter automation, and more consistent performance across workflows.
An MCP server is the part of the system that actually runs these commands. It acts as a bridge between your AI client (such as Claude or Cursor) and the real-world tools or APIs you want to use. The server listens for requests, performs the task using your connected tools, and then sends the results back to your AI client.
You can run the MCP server locally on your computer or host it remotely. For most users, keeping it local is easier and safer since your credentials never leave your own machine.
What You’ll Need Before You Begin
Before diving into setup, make sure you have everything ready.
- Node.js version 18 or newer
- macOS or Windows operating system
- Decodo Web Scraping API credentials
- Any compatible MCP client, such as Cursor, Claude Desktop, or Visual Studio Code
To confirm Node.js and npx are properly installed, open your terminal and run the following:
node -v
npx -v
If both commands return version numbers, you’re good to go.
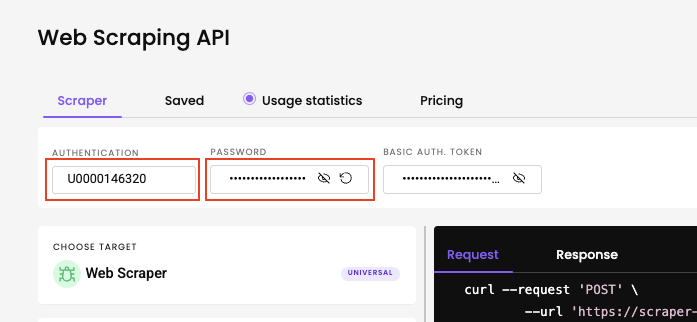
Step 1 – Get Your Decodo API Credentials
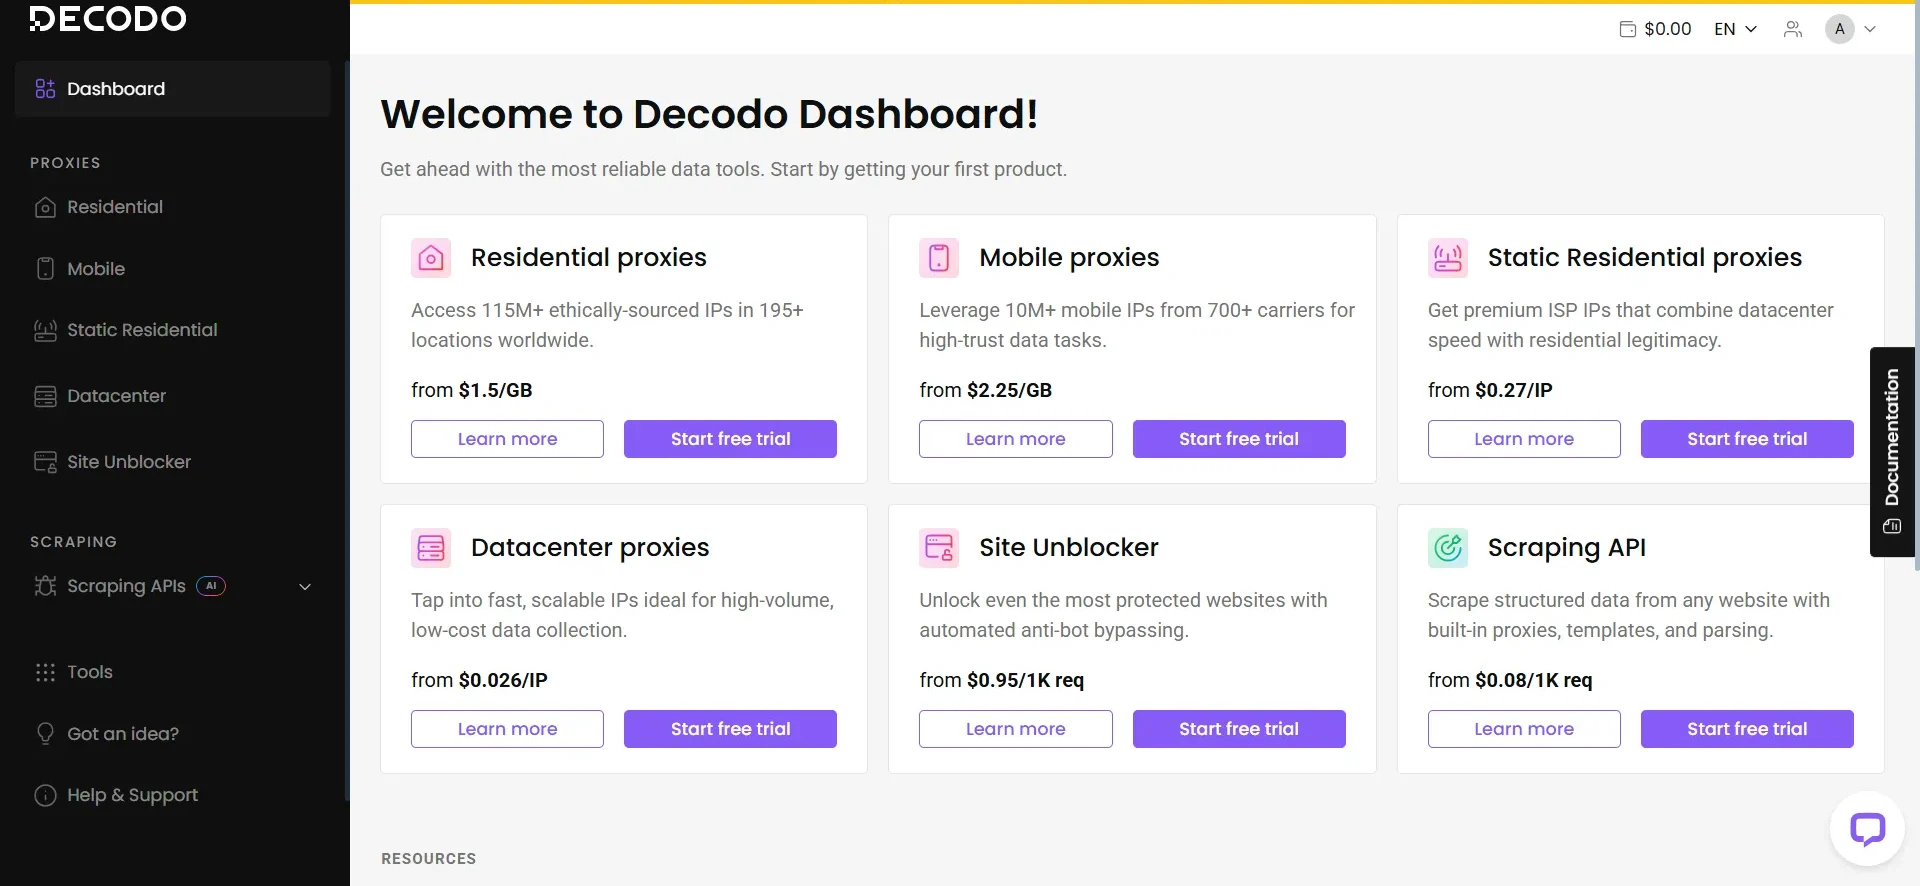
The first step is to obtain your Decodo Web Scraping API credentials. You can create a free account on the Decodo website and start a trial of the Web Scraping API Advanced plan.
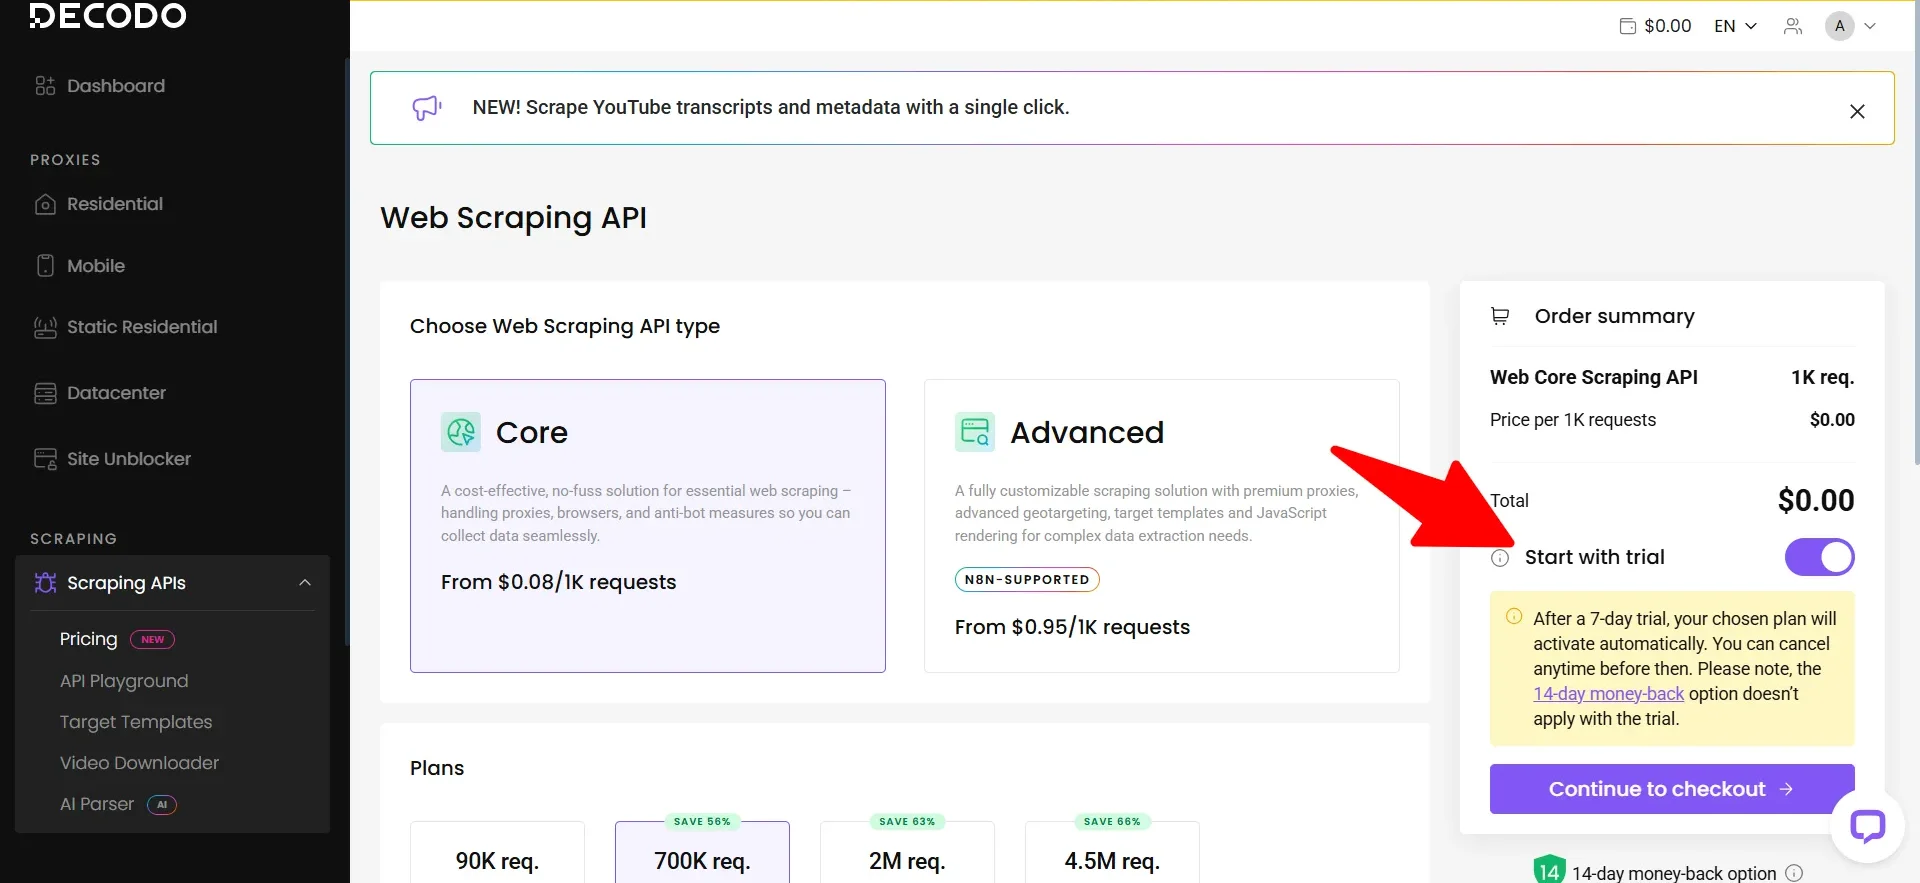
Once your account is active, visit your dashboard. You’ll see your authentication credentials, including your username and password. Copy them to a safe location since you’ll need them soon.
Step 2 – Download the Decodo MCP Server
Next, you’ll need to download the Decodo MCP server source files. Open your terminal and run this command:
git clone https://github.com/Decodo/decodo-mcp-server
This creates a new folder called decodo-mcp-server containing the project files. MCP servers are typically available on GitHub, NPM, or Docker Hub, but for this setup, we’ll use the official GitHub repository.
Step 3 – Install and Build the Server
After downloading the source code, move into the new directory and install all necessary dependencies.
cd decodo-mcp-server
npm install
npm run build
This installs Node.js packages and compiles the server into a ready-to-use build. Once complete, open the build folder and find the main server file, index.js.
To locate the exact path, run:
cd build
pwd
Make a note of the full path, since it will be used later in your configuration.
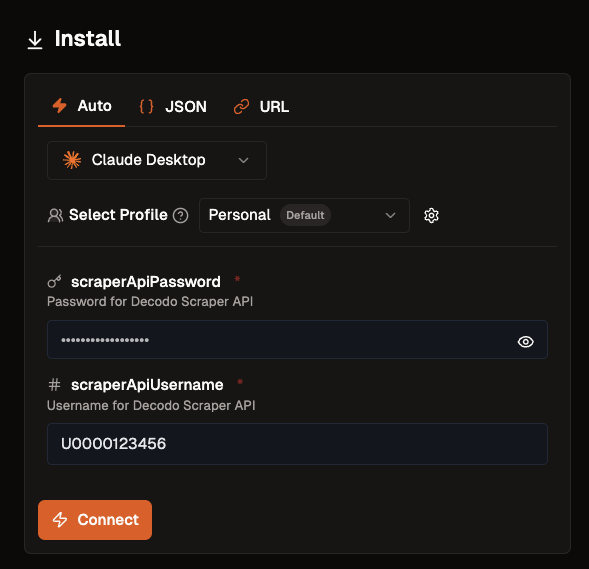
Step 4 – Configure the MCP Server
Now that everything is built, it’s time to connect your MCP server to your preferred client. Create a configuration file named mcp.json (or .mcp.json depending on the tool). Add the following content, replacing the placeholders with your actual credentials and file path:
{
“mcpServers”: {
“decodo-mcp”: {
“command”: “node”,
“args”: [“/Users/your-user/projects/decodo-mcp/build/index.js”],
“env”: {
“SCRAPER_API_USERNAME”: “your_username”,
“SCRAPER_API_PASSWORD”: “your_password”
}
}
}
}
Make sure the file path matches the location of your index.js.
Step 5 – Set Up Your Preferred Client
Option 1 – VS Code and Smithery
If you prefer a remote setup, use Smithery to connect your MCP server. Head to the Decodo Smithery repository and log in with your GitHub account. Enter your Decodo credentials when prompted. Smithery will generate a unique remote connection URL for you to use in VS Code or any compatible MCP client.
You can also install it directly with the following command:
npx -y @smithery/cli@latest install @Decodo/decodo-mcp-server –client vscode –profile <smithery_profile> –key <smithery_key>
Replace the placeholders with your actual Smithery profile and key.
Option 2 – Cursor
To connect Decodo MCP with Cursor, open Settings → Tools & Integrations → New MCP Server. Paste the JSON configuration you created earlier into the configuration window and save it. Restart the Cursor to apply the changes.
If the status indicator turns green, you’re good to go. If it stays red, double-check your credentials and file paths, or restart Cursor.
Option 3 – Claude Desktop
Claude Desktop uses a similar setup process. Open Settings → Developer → Edit Config and insert your MCP configuration inside the mcpServers section.
If the file doesn’t exist, you can create it manually in the following locations:
Windows: %APPDATA%/Claude/claude_desktop_config.json
macOS: ~/Library/Application Support/Claude/claude_desktop_config.json
Linux: ~/.config/Claude/claude_desktop_config.json
Save your changes, fully quit Claude, and restart it to load your new configuration.
Step 6 – Test and Start Using MCP Tools
With everything connected, you can test your MCP server. Simply open your AI client and ask it to perform a task like:
“Scrape www.wired.com for the latest tech stories.”
Your assistant should automatically recognize the MCP tool and run the request. During initial runs, most clients will ask for permission to execute the command. You can approve each time or set it to auto-approve once you trust the setup.
Decodo MCP Tools You Can Use
Once running, you’ll have access to several built-in tools from Decodo, including:
- scrape_as_markdown for general web scraping tasks that return content in clean Markdown format
- google_search_parsed for structured search results from Google
- amazon_search_parsed for parsed product data from Amazon searches
Why Choose Decodo MCP
Decodo’s MCP server integrates directly with its robust web scraping infrastructure. It supports scraping virtually any website, including those built with heavy JavaScript. With more than 125 million rotating IPs across 195 countries, it effortlessly bypasses most blocks and geo-restrictions.
The setup is flexible and works across all major operating systems. It includes built-in error handling, smart retries, and request throttling to ensure your scraping tasks run smoothly without getting blocked or rate-limited.
Troubleshooting Tips
If something doesn’t work, check these common issues:
- Ensure Node.js version 18 or higher is installed
- Verify that both npm install and npm run build have been executed
- Make sure your Decodo credentials match those from your dashboard
- Confirm the correct path to index.js in your configuration
- Fully restart your IDE or AI client after saving the configuration
Also, Read –
- Proxy Servers for Multi-Accounting
- How to Check Your VPN Server Address on Android or PC
- Proxy for Scraping Amazon
Final Thoughts
Once your MCP server is live, your AI assistant becomes far more capable. You no longer need to write code for every task, just ask your AI to fetch, scrape, or search, and it handles everything automatically.
The setup might take a little effort the first time, but once it’s running, you’ll have enterprise-grade web scraping and data automation running directly through your favorite AI tools. With Decodo MCP, you’re not just setting up a server; you’re unlocking a smarter way to work with AI.
